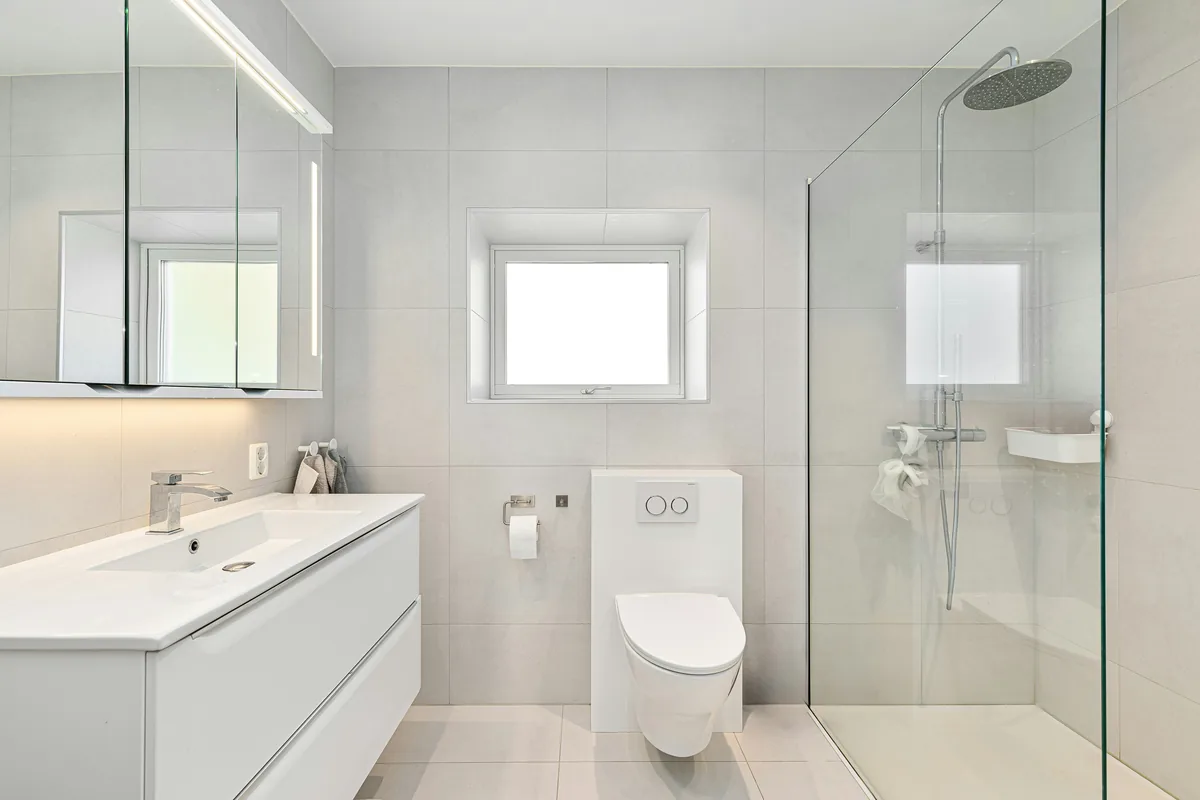
A leaking bathroom is one of the most common and most stressful problems in apartment living. It shows up as damp patches on the ceiling of the flat below, peeling paint and arguments with neighbours. In most cases the tiles are not the cause. The leak starts because a waterproofing step was rushed or skipped before the tiles went down.
Why bathrooms leak
- Gaps around pipe openings in the slab that were not sealed properly.
- The joint where the wall meets the floor, which moves slightly and cracks.
- Poorly finished edges around the floor drain.
- An old coating that was damaged when the previous tiles were broken out.
- Hairline gaps in tile joints that let water reach an unprotected surface.
Prepare the surface properly
Waterproofing is only as good as the surface under it. Old tiles and loose material should be removed down to the solid slab, and dust cleaned off completely. Openings around pipes are packed and sealed, cracks are filled, and the floor is finished with a gentle slope towards the drain so water never collects. A small fillet at the wall and floor junction helps the coating bend around the corner without cracking.
Apply the coating in layers
Use a waterproofing product made for wet areas and follow the manufacturer's instructions for the number of coats and the drying time between them. The coating should run up the walls, higher in the shower zone, and carry around every pipe opening and the drain. Rushing the drying time between coats is a common reason for weak spots.
Do a ponding test before tiling
Block the drain outlet and hold a few centimetres of water on the floor for a day or two, marking the water level at the start. If the level drops, or the ceiling below shows damp, the coating needs attention. It is far cheaper to fix a leak at this stage than after the tiles are laid. If possible, ask the neighbour below to check their ceiling during the test.
Protect the coating while tiling
- Cover the coating with a protective screed before laying tiles so it is not scratched.
- Use proper tile adhesive and fill all joints fully with good-quality grout.
- Plan the positions of fixtures early so no one drills into the waterproofed floor later.
Questions to ask your contractor
- Which waterproofing product will be used, and how many coats?
- How long will the ponding test run?
- What does the written warranty cover, and for how many years?
- Will each stage be photographed with dates?
Keep the records: a warranty is only useful if you can show what was done. Ask for dated photos of the surface preparation, each coat and the ponding test, and keep them with your bills.